
오늘 학습 키워드
유니티 숙련 팀 프로젝트, 스탠다드 반 강의
오늘 학습 한 내용을 나만의 언어로 정리하기
팀플
보스를 만들어요
- 몬스터 매니저에 보스를 위한 풀을 만듬
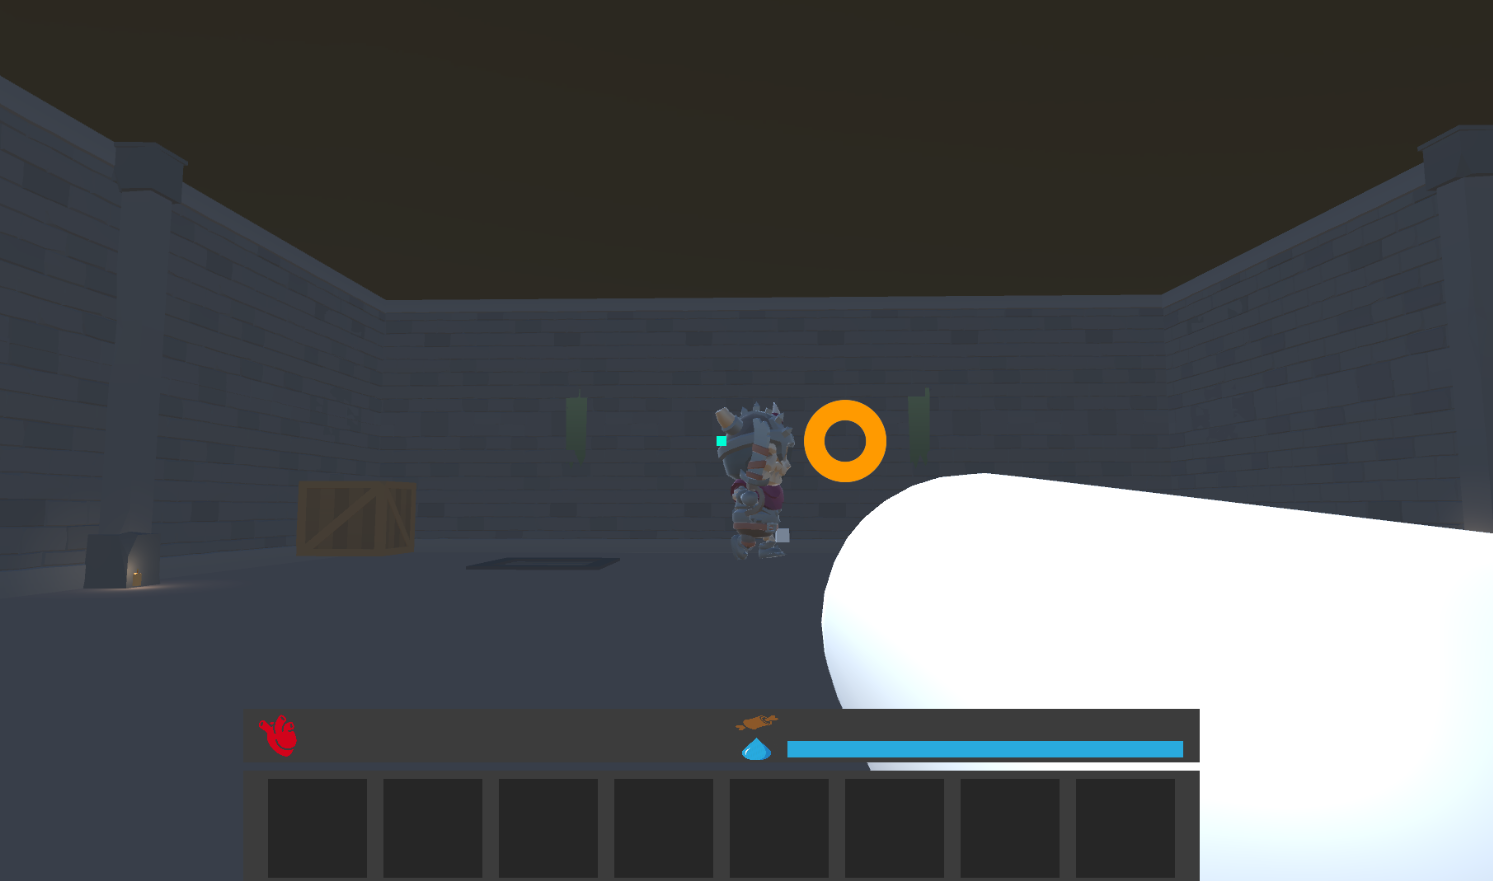
- 짱 큼
- 공격력이랑 기본 이동속도, 플레이어 탐지 범위 등을 조정했음
- 몬스터 매니저에 대한 설명을 추가함
/// 몬스터 매니저 작동 순서
/// 1. 정해진 groupCount 만큼 랜덤 위치를 뽑는다. (GenerateRandomPositions)
/// 2. 뽑은 랜덤 위치 하나 당 오브젝트 풀을 만든다. (CreatePoolForPosition(Position, Prefab)
/// 3. 보스를 위한 오브젝트 풀도 만들어 준다.
/// 4. 그룹 풀은 위치-오브젝트풀 의 키-값으로 저장된다. (groupPools)
/// 5. 이제 정해둔 위치(키)에 맞게 실제로 몬스터들을 스폰한다 (SpawnGroupAt(Position))
private void Awake()
{
    Debug.Log("Monster Manager Awake");

    respawnWait = new WaitForSeconds(respawnDelay);
    bossRespawnWait = new WaitForSeconds(bossRespawnDelay);

    spawnPositions = GenerateRandomPositions(cornerA, cornerB, groupCount, minDistance);
    if(spawnPositions == null || spawnPositions.Count == 0)
        Debug.LogError("Spawn Position is null");

    // 포지션 하나마다 몬스터 그룹 설정
    foreach (var pos in spawnPositions)
    {
        GameObject prefab = monsterGroupPrefabs[Random.Range(0, monsterGroupPrefabs.Count)];
        CreatePoolForPosition(pos, prefab);
    }

    // 보스 위치 풀 만들기
    CreatePoolForPosition(bossSpawnPoints, bossPrefab);

    // 초기 스폰
    foreach (var pos in spawnPositions)
        SpawnGroupAt(pos);

    SpawnGroupAt(bossSpawnPoints);
}
스탠다드 반 강의 (주제 : 동적 생성)
- 하이어라키에 아이템을 두는건 씬 로드 시에 오래걸리고 깃 충돌이 나기 쉬움.
- 그래서 씬 다이어트를 해줘야 함.
- 씬 로드가 짧고, 프리팹 단위로 작업하다보니 충돌 날 확률이 많이 줄어든다.
- 그리고 로딩될 때 로드 할 순서나, 디버깅을 지정할 수 있음.
동적 생성
- 실행 중에 필요한 오브젝트를 필요에 따라 생성하거나 삭제하는 것
- 씬 로딩 속도 향상 및 오브젝트 관리 측면에서 유용함
Resources.Load()
- 프로젝트에 Resources 폴더에 있는 에셋을 런타임에 동적으로 로드함
- Resources 폴더는 빌드 시에 같이 파일에 포함됨. 즉 빌드 파일 크기가 증가함
async void Start()
{
	await LoadAsset("Stage");
	LoadAsset("Player");
	LoadAsset("HUD", canvas.transform);
	LoadAsset("Inventory", canvas.transform);
}

public async Task LoadAsset(string key, Transform parent = null)
{
	var operation = Resources.LoadAsync<GameObject>(key);

	while(!operation.isDone)
	{
		Debug.Log($"{key} 로드중 : {operation.progress}");
		await Task.Yield();
	}

	if(operation.asset == null)
	{
		Debug.LogError($"{key} 에셋 로드 실패");
		return;
	}

	Instantiate(operation.asset, parent);
}- Resources 에 폴더가 많아지면 Enum으로 관리하는걸 추천
- 단점
- 앱 용량 증가
- string으로 탐색하기 때문에 코드 유지관리 및 보수에 비효율적
- 변경사항이 있을 경우 다시 빌드를 해서 올려야함
Asset Bundle
- 장점
- 에셋들을 번들로 만들어서 서버에 올림
- 빌드를 다시 안해도 됨. 원격 배포 가능
- 단점
- 번들 의존성에 의한 중복된 리소스 관리를 직접 해줘야 함.
- 로드 안해주면 프리팹 오류남
- 사용 난이도가 높고 에러 생기기가 쉬움
- 번들 의존성에 의한 중복된 리소스 관리를 직접 해줘야 함.
Addressable Asset
-
Addressables Groups : 에셋 묶음.
-
장점
- 얘도 에셋 번들처럼 서버에 올림
- 로컬도 지원함
- 의존성 관리 알아서 해줌
-
사용법
- 패키지 매니저에서 Addressables를 설치
- Window > Asset Management > Addressables Groups
- 우클릭 > Create New Group > Package
- 어드레서블로 옮길 애들을 클릭하고 인스펙터에서 Addressable 체크박스 클릭
- 빌드 눌러서 빌드하면 됨
-
옵션들
- Build & Load Paths : 로컬 / 서버
- Asset Bundle Compression : 로컬은 LZ4, 서버는 LZMA? 사용 추천
- Include In Build : 빌드 때 포함 할건지 말건지
-
Addressables Profiles : 로드할 때 어디서 로드할 건지
- Local : Custom 하면 로드 위치를 정할 수 있음
- Remote : 저장하는건 로컬에 저장, 로드를 서버에서 받아와야함
-
사용 방법 (코드)
- 이름으로 불러올 수도, 그룹으로 불러올 수도, 레이블로 불러올 수도 있다.
// AddressableManager.cs
using UnityEngine.AddressableAssets;

public class AddressableManager : MonoBehaviour
{
	public async void LoadAsset(eCategoryType type, string key, Transform parent = null)
	{
		// 이름으로 불러오기
		var operation = Addressables.LoadAssetAsync<GameObject>(key);

		while(!operation.IsDone)
		{
			Debug.Log($"{key} 에셋 로드 중 : {operation.PercentComplete}");
			await Task.Yield();
		}

		if (operation.Result == null)
		{
			Debug.LogError($"{key} 에셋 로드 실패");
			return;
		}

		Instantiate(operation.Result, parent);
	}
}
-
Play Mode는 Use Existing Build 로 테스트 하셈. 안그러면 이미 있는걸로 가져다 쓰는거라 확인 안됨
-
이미 빌드를 한 적이 있다면 그 다음에는 update previous build 로 하면 빠름
-
아이템을 여러 개 가져오기
// 여러 개 가져오기
public async Task<List<T>> LoadAssets<T> (string key) where T : Object
{
	var operation = Addressables.LoadAssetsAsync(key, (Object obj) => { })

	while (!operation.IsDone)
	{
		Debug.Log($"{key} 에셋 로드 중");
		await Task.Yield();
	}

	if (operation.Result == null)
	{
		Debug.LogError($"{key} 에셋 로드 실패");
		return default;
	}

	List<T> result = new List<T>();
	foreach(var asset in operation.Result)
	{
		result.Add((T)asset);
	}

	return result;
}- 아이템을 레이블을 통해 여러 개 가져오기. 그냥 이름 넣는 곳에 레이블 넣으면 됨
private async void LoadSprite()
{
	var itemList = await AddressableManager.Instnace.LoadAssets<Sprite>("Item");

}
학습하며 겪었던 문제점 & 에러
문제 1
- 문제&에러에 대한 정의
스크립터블 오브젝트가 연결이 끊기던 문제가 있었음
- 내가 한 시도
지우고 다시 만들고 반복
- 해결 방법
원본 스크립트 자체를 복사하고 지웠다가 새로 만듬
- 새롭게 알게 된 점
가끔 깨지는 경우가 있음
- 이 문제&에러를 다시 만나게 되었다면?
원본 스크립트를 복사해서 다시 만들어보자.
문제 2
- 문제&에러에 대한 정의
몬스터가 유독 Attacking 상태일 때 나를 잘 못따라옴.
if (playerDistance < data.detectDistance) {
	// 플레이어에게 가는 새로운 길을 또 만들어서 가려는 시도를 함
	agent.isStopped = false; NavMeshPath path = new NavMeshPath();
	// 플레이어한테 갈 수 있으면 감
	if (agent.CalculatePath(CharacterManager.Instance.Player.transform.position, path)) {
		agent.SetDestination(CharacterManager.Instance.Player.transform.position);
	}
	else // 갈 수 없으면 추적을 멈추고 다시 Wandering 상태로 바꿈
	{
		Debug.Log("갈 수 없음!");
		agent.SetDestination(transform.position);
		agent.isStopped = false;
		SetState(AIState.Wandering);
	}
}- 내가 한 시도
혹시나 하고 플레이어의 높이를 낮춰봄 그랬더니 됨. NavMesh가 수직 차이를 인지하지 못한다는걸 깨달음
- 해결 방법
SamplePosition을 같이 써서 해결함
if (playerDistance < data.detectDistance)
{
    NavMeshHit hit;
    // 플레이어 근처의 NavMesh 를 찾음
    if (NavMesh.SamplePosition(
            CharacterManager.Instance.Player.transform.position,
            out hit,
            sampleMaxDistance,
            NavMesh.AllAreas))
    {
        agent.isStopped = false;
        NavMeshPath path = new NavMeshPath();
        // 플레이어 근처 NavMesh한테 갈 수 있으면 감
        if (agent.CalculatePath(hit.position, path))
        {
            agent.SetDestination(hit.position);
        }
        else // 갈 수 없으면 추적을 멈추고 다시 Wandering 상태로 바꿈
        {
            Debug.Log("갈 수 없음!");
            agent.SetDestination(transform.position);
            SetState(AIState.Wandering);
        }
}- 새롭게 알게 된 점
NavMesh는 높이 차이 (y)를 계산하지 못한다.
- 이 문제&에러를 다시 만나게 되었다면?
CalculatePath 말고 SamplePosition을 쓰자.